By the end of class students will become familiar with the phrase 'depth of field' (DOF) as evidenced by finding two photos with a shallow DOF and two with a wide DOF.
 |  |
 |  |
By the end of class students will become familiar with the phrase 'depth of field' (DOF) as evidenced by finding two photos with a shallow DOF and two with a wide DOF.
0 Comments
By the end of this lesson students will know how to use exposure to make creative decisions as evidenced by answering the questions below. 1.TO CREATE AN EXTREMELY SHALLOW DEPTH OF FIELD, THE PHOTOGRAPHER SHOULD ADJUST THE APERTURE TO MAKE IT MORE OPEN (LIKE F/11)
2.IN ORDER TO CREATE BLURRED STREAKS THE PHOTOGRAPHER SHOULD ADJUST THE SHUTTER SPEED TO A LONGER TIME THE SHUTTER IS OPEN ( 1/25 OR 1/50) 3.TO TAKE A PHOTO WITH A LOT OF GRAIN AND NOISE, ADJUST THE ISO TO A LARGER NUMBER By the end of class students will understand the concept of a "stop" as evidenced by taking 3 photos, each with the same overall exposure, but by increasing the exposure by a stop in one setting, and decreasing the exposure by a stop in another setting. ISO 800 / SHUTTER 1/200 / APERTURE 5.6  ISO 400 / SHUTTER 1/200 / APERTURE 4.0  ISO 800 / SHUTTER 1/100 / APERTURE 8  By the end of class students will know the benefits of either raising or lowering ISO as evidenced by taking 2 photos with a really high ISO and 2 photos at a low ISO. (Be sure to adjust the overall exposure so that it is not over or under exposed.) 

10/22/2014 By the end of class students will know the consequences of raising and lowering aperture as evidenced by describing them. Having a F-Stop setting on your aperture (more open/ large) results in more light but from your focus point, or subject, it will cause blur of the background- smaller field of focus.
Having a smaller F-Stop setting on your aperture (less open/ smaller) results in less light being able to reach to sensor, and you will have all, if not most, of your picture in focus - larger field of focus 10/21/14 By the end of class students will know the pros and cons of raising and lowering shutter speed as evidenced by describing them. The pros of a fast shutter speed is that you get a much more crisp image when taking photos of action. The cons are that you let in a lot less light which creates a darker image.
The pros of a slow shutter speed is that you can take photos in the dark and allow more light in. the cons are that you have to use a tripod or sit very still to not cause the image to blur 10/20/2014 By the end of class students will be able to identify the three components of exposure as evidenced by giving a brief description of each. Shutter Speed: measured in seconds (fractions)... shutter speed allows you to slow or speed up the shutter. the faster the speed, the less light reaches the image, the slower speed allows more light to the image. thge smaller the fraction, the faster the shutter speed.
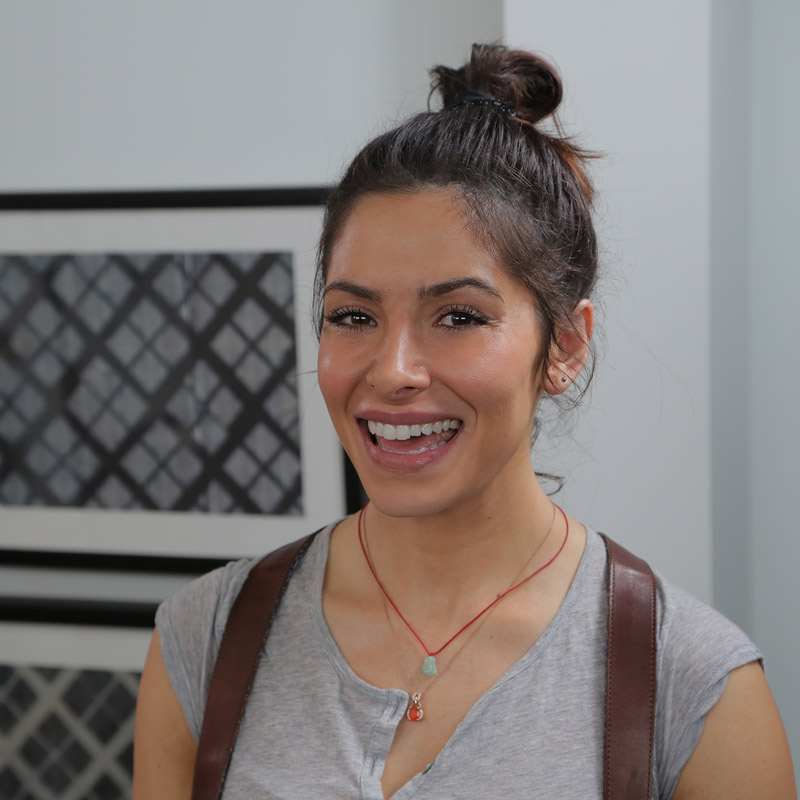
Aperture: measured in f-stops (F/11.. etc.) you control blades in the lens that either close into a smaller circle or open into a larger circle. the smaller the circle the less light is let in, the larger the circle, the more light is let in. this is much light your iris inside of your eyes IOS: (100 200 400 800) it multiplies and the larger the number the more light is let in. but this can cause your photo in low light to appear blurred so you would need to adjust it. this is a setting that controls the sensitivity of the sensor. 10/16/14 By the end of class students will analyze several examples of portrait photographs and recognize elements of successful portraits as evidenced by comparing and contrasting the photos below as well as ranking them in the order of most successful to least. (Also, let's practice our recently learned touch up skills by improving photos C and D.) c. is the best portrait of all due to its natural look, not too busy background, and she is looking into the camera b. is the second best due to the man not exactly looking into the camera and lack of exposure d. is the third best due to the over exposure to the subject a. is the worst due to the busy background and the subject is not looking to the camera
10/14/2014 By the end of class students will be able to use the Healing Brush tool to remove wrinkles and other flaws from images as evidenced by doing so to the images below. 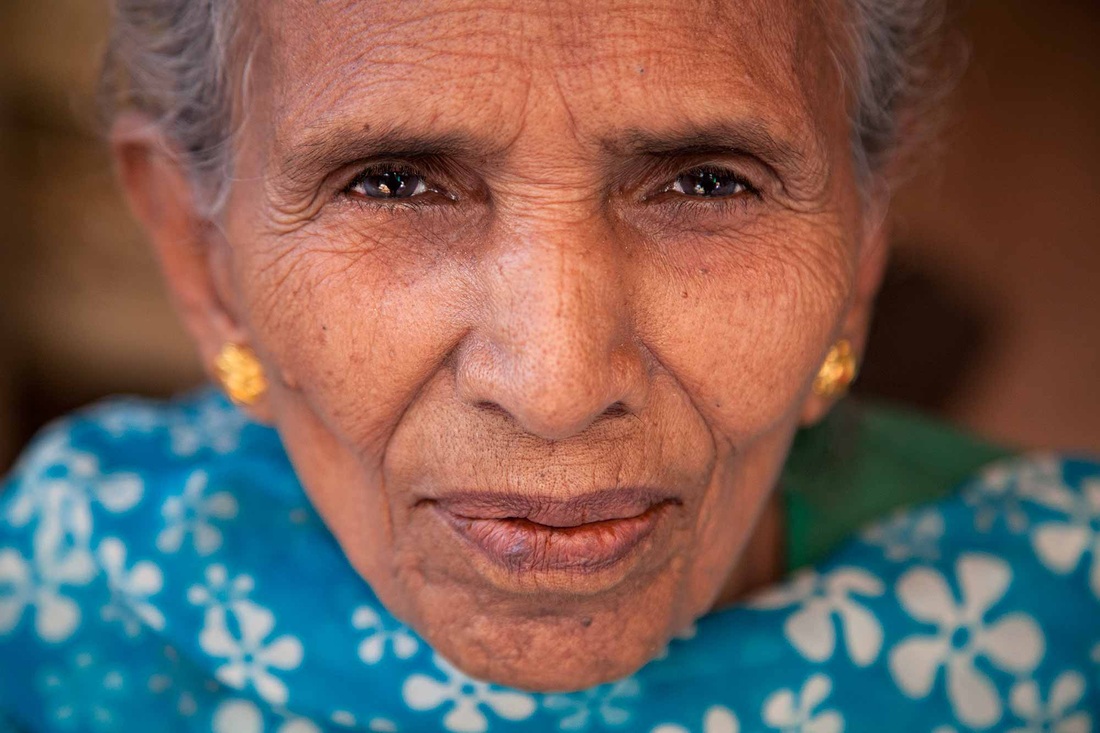
10/13/2014 By the end of class students will be able to touch up images with the Spot Healing Brush tool as evidenced by touching up the photos below. 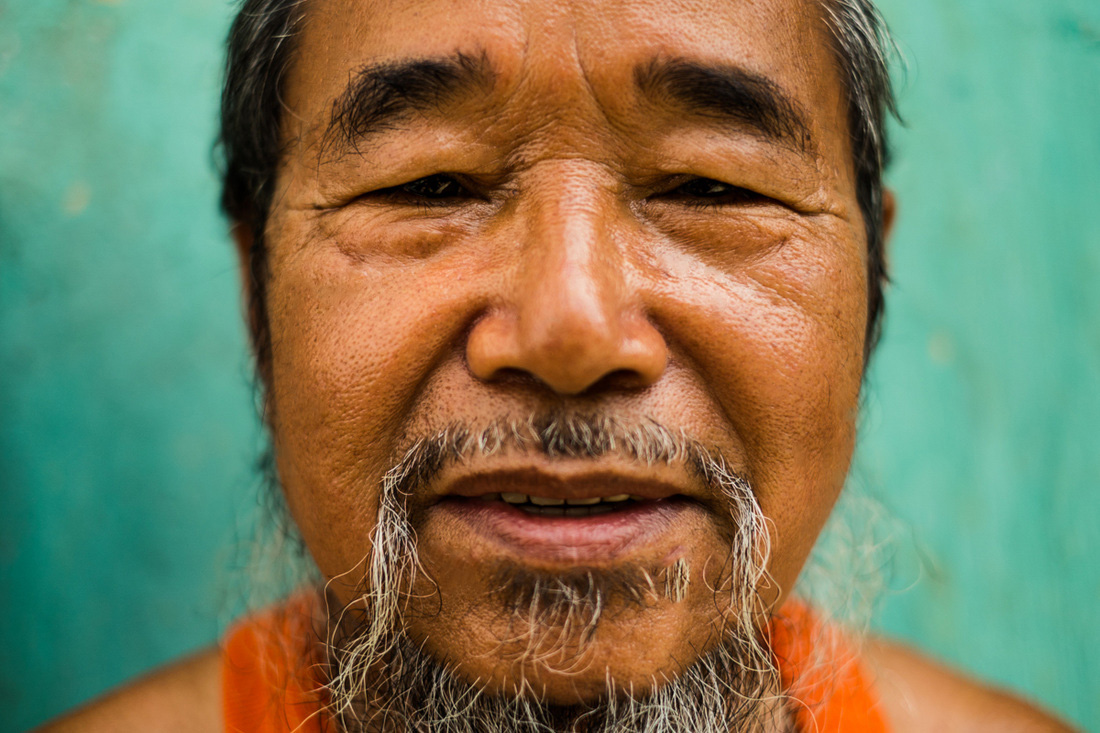 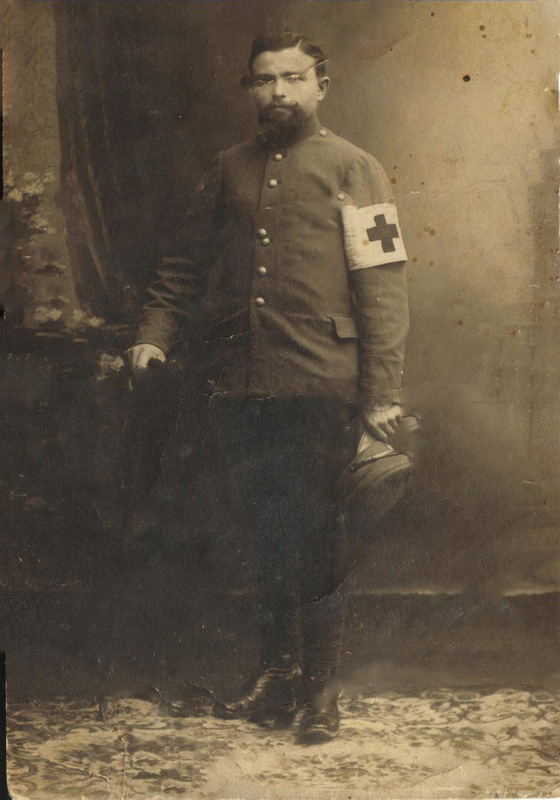 | ArchivesDecember 2014 CategoriesAuthorWrite something about yourself. No need to be fancy, just an overview. |

 RSS Feed